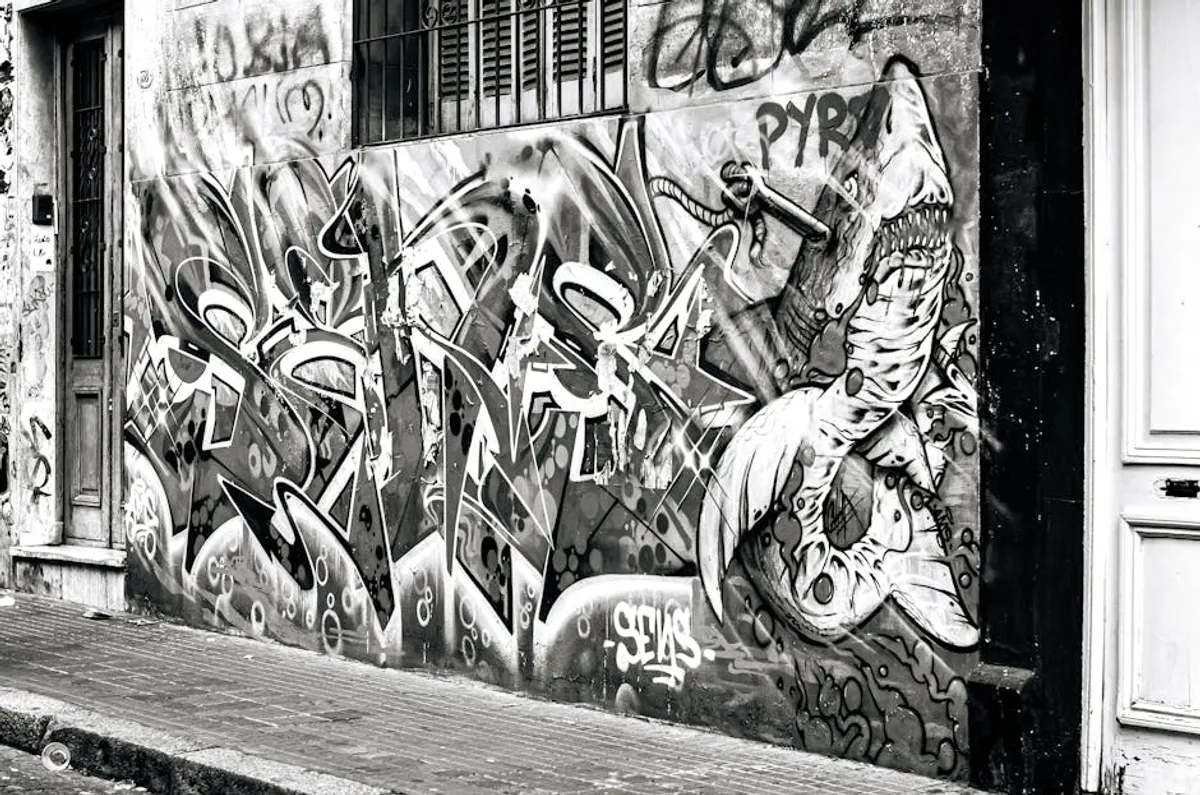
Documenting murals, installations, and street scenes presents distinct photographic challenges and opportunities. Unlike studio work, these subjects are often site-specific, subject to environmental variables, and frequently temporary. The objective is to capture their essence, scale, and context accurately, whether for an artist's portfolio, commercial publication, or archival purposes. This requires a considered approach to equipment, lighting, composition, and post-processing to ensure the visual assets produced are both technically sound and effectively convey the subject's impact.
Essential Equipment Considerations
Selecting the right tools can significantly influence the quality and versatility of your images. While advanced gear offers more control, even a modern smartphone can yield compelling results with careful technique.
- Camera Body: A DSLR or mirrorless camera provides manual control over exposure, aperture, and shutter speed, crucial for adapting to varied lighting conditions. Sensor size impacts dynamic range and low-light performance.
- Lenses:
- Wide-Angle (16-35mm equivalent): Indispensable for capturing large murals or expansive installations within their environment. Be mindful of perspective distortion, especially with very wide lenses.
- Standard (50mm equivalent): Offers a natural field of view, ideal for isolating specific sections or creating a sense of intimacy.
- Telephoto (70-200mm equivalent): Useful for compressing perspective, isolating details from a distance, or capturing elements on busy streets without intruding.
- Tripod: Essential for stability in low light, achieving sharp details, and ensuring precise composition, particularly for architectural subjects or time-lapse sequences.
- Polarizing Filter: Reduces glare and reflections from painted surfaces or windows, enhancing color saturation and contrast.
- Spare Batteries and Storage: On-location shoots can be unpredictable; ensure ample power and memory card capacity.
Mastering Natural Light for Impact
Light is the primary sculptor of any photograph, and with outdoor art, you are reliant on natural conditions. Understanding how light interacts with your subject is paramount.
Best for: Revealing texture, color, and depth without harsh shadows.
The "golden hour" – the period shortly after sunrise or before sunset – provides soft, warm, directional light that can enhance colors and create interesting shadows, adding depth to murals and installations. Overcast days offer diffused, even lighting, which minimizes harsh shadows and provides a neutral canvas, excellent for capturing accurate colors and details without strong contrasts. Avoid direct midday sun, which often creates stark, unflattering shadows and can wash out vibrant colors.
Composition and Perspective
How you frame your shot and choose your viewpoint dictates the narrative and impact of the image.
Framing Murals and Large-Scale Art
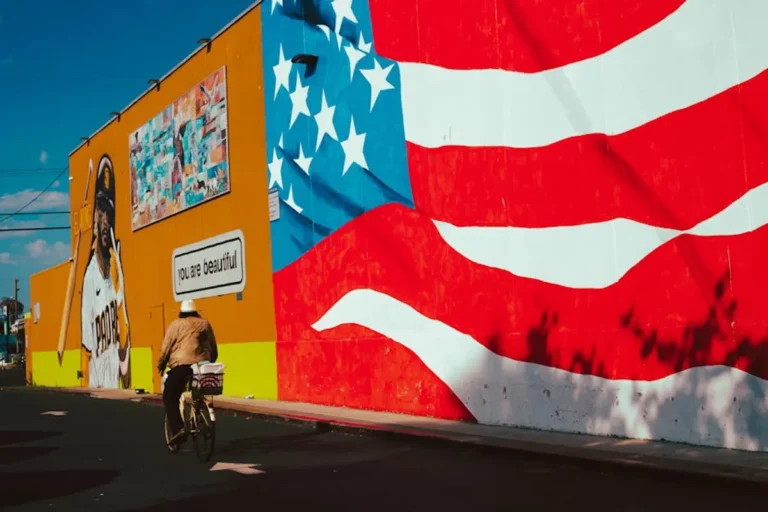
When photographing murals, consider the entire wall as your canvas. Use a wide-angle lens to capture the full scope, but also step back to include surrounding architectural elements or street life, providing context and scale. Look for leading lines, such as sidewalks, building edges, or power lines, to draw the viewer's eye into the artwork. For multi-panel murals or installations, consider shooting a series of overlapping images for later stitching into a panorama, ensuring no detail is lost. These tips for photographing murals can help you capture the essence of any large-scale artwork.
Capturing Installations: Context and Interaction
Installations often rely on their environment and the viewer's interaction. Photograph them from multiple angles to convey their three-dimensional nature. Include people interacting with the piece to illustrate its scale and purpose, but ensure these figures enhance, rather than distract from, the artwork. Pay attention to the negative space around the installation; it's often an intentional part of the artist's design.
Documenting Dynamic Street Scenes
Street photography thrives on capturing candid moments and the energy of urban life. Look for layers in your composition, where foreground, middle ground, and background elements create depth. Anticipate moments rather than just reacting to them. A fast shutter speed is critical for freezing motion, while a slightly slower speed can introduce intentional blur to convey movement. Vary your perspective: shoot from ground level, eye level, or elevated positions to find unique viewpoints.
Pro Tip: Always secure your camera and equipment. In busy public spaces, awareness of your surroundings is crucial to prevent theft or accidental damage. Use a sturdy camera strap and keep your gear bag closed and within reach.
Detail Shots and Textures
Beyond the grand overview, individual elements often hold significant artistic or narrative value. Zoom in on specific brushstrokes, material textures, or symbolic motifs. These close-ups provide a deeper understanding of the artist's technique and the artwork's intricacies. For street scenes, focus on interesting textures, patterns, or unique objects that tell a smaller story within the larger environment.
Post-Processing for Refinement
Post-processing is not about altering reality but enhancing the visual information captured by your camera. Basic adjustments can significantly improve the final output.
- Exposure and Contrast: Correcting underexposed or overexposed areas and adjusting contrast can make images pop.
- White Balance: Ensure colors are accurate by correcting any color casts introduced by ambient light.
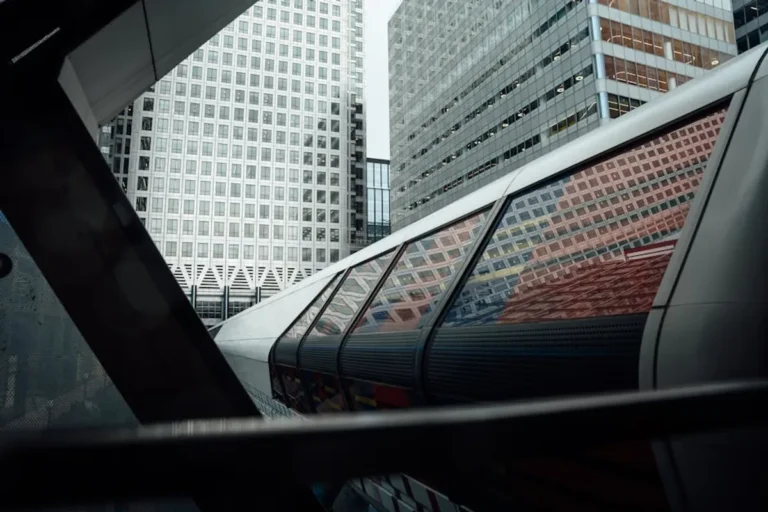
- Perspective Correction: Wide-angle lenses can introduce distortion, especially when shooting tall buildings or murals. Use software tools to straighten converging lines and correct barrel distortion.
- Cropping: Refine your composition by cropping out distracting elements or adjusting the aspect ratio.
- Sharpening: Apply subtle sharpening to enhance detail, being careful not to overdo it, which can introduce artifacts.
Developing Your Visual Narrative
The technical aspects of photography provide the foundation, but the most compelling images tell a story. For murals and installations, this means understanding the artist's intent and how the piece interacts with its environment. For street scenes, it involves observing, anticipating, and capturing the human element or unique characteristics that define a place. Practice observing before you even lift the camera, looking for light, lines, and moments that create a powerful visual statement. Building a strong portfolio of these subjects requires both technical proficiency and a keen eye for storytelling. Beyond murals, exploring different styles of street art can broaden your understanding of urban expression.
Frequently Asked Questions
What's the best time of day to photograph outdoor art?
The "golden hour" (shortly after sunrise or before sunset) provides soft, warm light that enhances colors and textures. Overcast days offer diffused, even lighting, which is excellent for accurate color representation and minimizing harsh shadows.
How can I avoid distortion when shooting large murals with a wide-angle lens?
Stand as far back as possible to minimize extreme angles. Keep your camera level with the center of the mural to reduce converging vertical lines. Post-processing software offers perspective correction tools to straighten lines and correct barrel distortion.
Should I include people in my photographs of street art or installations?
Including people can provide scale, context, and a sense of interaction, enriching the narrative. However, ensure they enhance the composition rather than distract from the main subject. For commercial use, be aware of privacy laws regarding identifiable individuals.
What are key considerations for photographing street scenes candidly?
Use a discreet camera setup and avoid drawing undue attention. Pre-focus or use zone focusing to react quickly. Look for interesting light, strong compositions with foreground and background elements, and anticipate moments of human interaction or unique urban details.