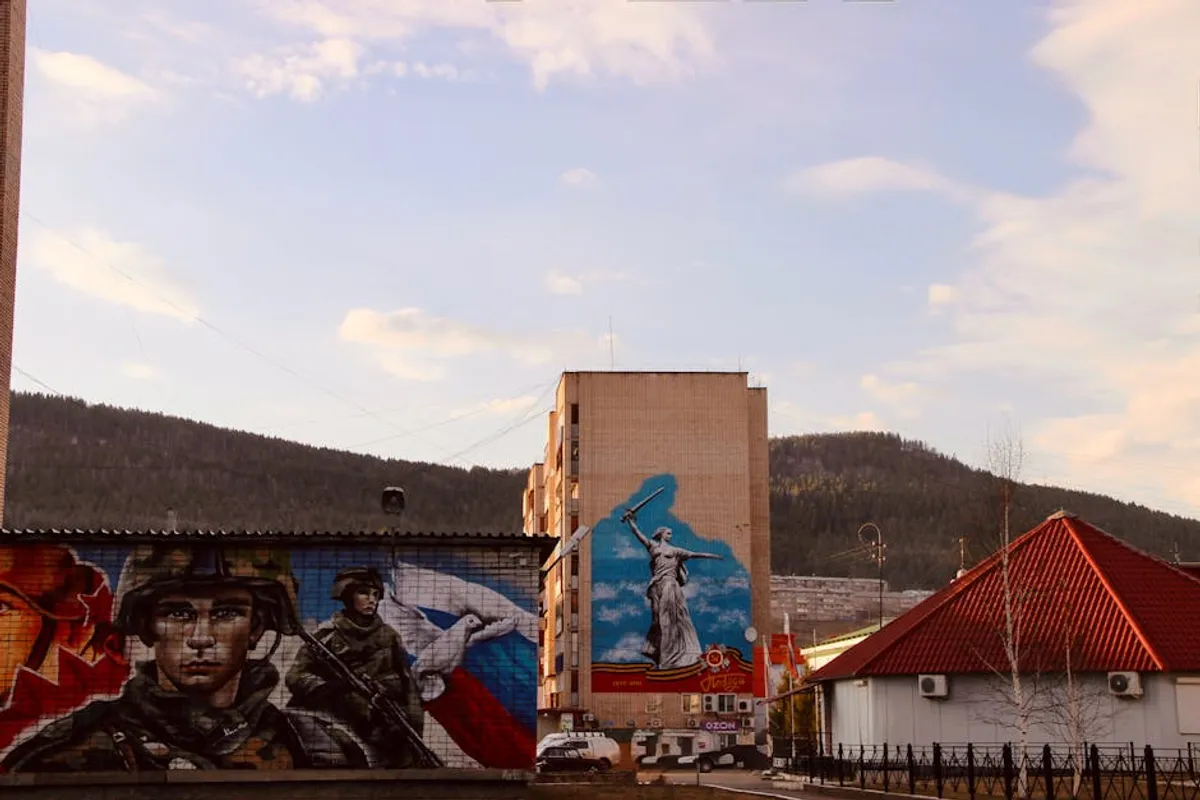
Photographing murals presents a unique set of challenges distinct from studio or landscape photography. The scale, often public location, variable lighting conditions, and potential for perspective distortion demand a considered approach to capture the artwork faithfully and compellingly. Achieving professional results requires more than simply pointing a camera; it involves strategic planning, precise technical execution, and thoughtful post-processing. This guide details the practical steps and considerations for documenting murals, ensuring the integrity of the art is preserved and its visual impact is translated effectively through your lens.
Strategic Planning for Mural Documentation
Effective mural photography begins before the shutter clicks. Understanding the environment and anticipating potential issues allows for proactive solutions, saving time and improving final output quality.
Assessing the Location and Light
Murals are often situated in dynamic urban environments, meaning light changes throughout the day, and obstructions like buildings, trees, or street furniture can cast unwanted shadows or create glare. Scouting the location beforehand is critical. Observe the sun's path and how it interacts with the mural at different times. Early morning or late afternoon light often provides softer, more even illumination, minimizing harsh shadows and blown-out highlights. Overcast days can also be advantageous, offering diffused light that reduces contrast extremes.
Consider:
- Time of day: Aim for periods when the mural is uniformly lit, avoiding direct, harsh midday sun unless a specific effect is desired.
- Obstructions: Identify anything that might block your view, cast shadows, or create reflections. Plan your shooting position accordingly.
- Foot traffic: Public murals can attract crowds. Early mornings typically offer fewer distractions and clearer shots.
Essential Gear for Mural Photography
While a smartphone can capture basic images, professional-grade results from murals often benefit from specific camera equipment that offers greater control over exposure, focus, and perspective.
Key equipment includes:
- Camera body: A DSLR or mirrorless camera with manual controls provides the flexibility needed for various lighting and compositional challenges.
- Lenses:
- Wide-angle lens (16-35mm equivalent): Essential for capturing large murals in their entirety, especially in confined spaces.
- Standard prime or zoom lens (35-70mm equivalent): Useful for detail shots or when you have ample distance from the mural.
- Telephoto lens (70-200mm equivalent): Can be helpful for isolating specific elements or reaching murals that are high up or across a street.
- Tripod: Crucial for maintaining sharpness in low light, for bracketing exposures, or for shooting multiple frames for stitching into a panorama. It also ensures consistent camera positioning.
- Polarizing filter: Reduces glare and reflections, particularly useful on murals with glossy finishes or in bright conditions. It also enhances color saturation.
- Lens cleaning kit: Dust and smudges on lenses are magnified in photos.
Pro Tip: Always carry extra batteries and sufficient memory cards. Mural shoots can be unpredictable, and you don't want to cut a session short due to equipment limitations.
Mastering Composition and Perspective
The vast scale of murals often leads to perspective distortion, where lines appear to converge or walls seem to lean. Correcting this in-camera is preferable to relying solely on post-processing.
Capturing the Full Mural
To minimize distortion and capture the entire artwork, position your camera as parallel to the mural surface as possible. This often means finding a central vantage point and adjusting your height. If the mural is very tall, shooting from a slightly elevated position (if safe and accessible) can reduce the need to tilt the camera upward, which introduces keystone distortion.
When a single shot isn't feasible due to size or proximity, consider shooting a series of overlapping images for later stitching into a panorama. This technique, when executed carefully with a tripod, can produce extremely high-resolution, distortion-free reproductions.
Incorporating Environmental Context
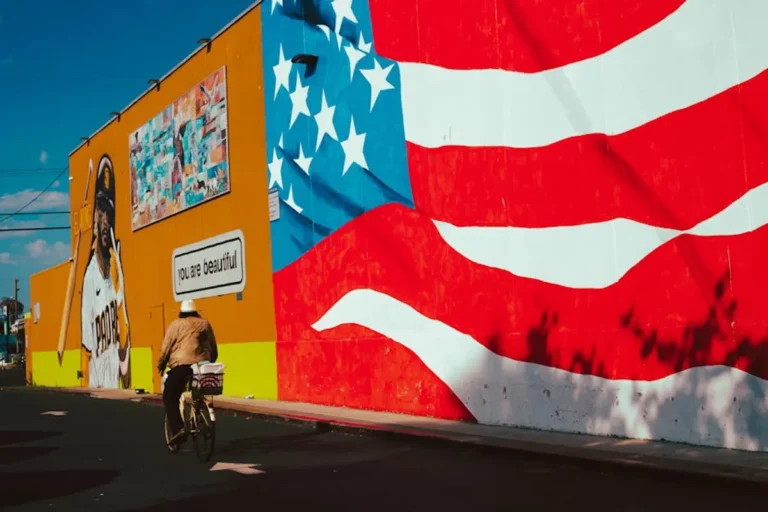
Murals are often integral to their surroundings. Deciding whether to include contextual elements like buildings, street signs, or people depends on the photographic intent. For pure documentation, isolating the mural is key. However, for a more artistic or narrative approach, incorporating elements that show the mural's place in the urban fabric can add depth and storytelling. Ensure any contextual elements do not distract from the mural itself but rather enhance its presence.
Optimizing Technical Camera Settings
Correct camera settings are paramount for capturing the detail, color accuracy, and texture of a mural.
Managing Exposure and White Balance
Shoot in RAW format whenever possible. RAW files retain more image data, offering greater flexibility for adjustments in post-processing, especially for recovering detail in highlights and shadows. Use a low ISO (e.g., 100-400) to minimize noise, particularly important for large prints or detailed analysis. Aperture settings (f/8 to f/11) typically provide sufficient depth of field to keep the entire mural sharp, assuming you are shooting parallel to the surface. Adjust shutter speed to achieve correct exposure, using a tripod to prevent blur at slower speeds.
White balance is critical for accurate color reproduction. While auto white balance works in many situations, custom white balance (using a gray card) or setting a specific Kelvin temperature can ensure colors are true to the original artwork, especially under mixed or artificial lighting.
Controlling Distortion and Sharpness
To combat perspective distortion, use a wide-angle lens and ensure your camera is level and parallel to the mural. Some cameras offer in-camera leveling tools. If you must tilt the camera, be prepared to correct keystone distortion in post-processing. Focus meticulously; for large murals, focusing about one-third into the mural's depth can maximize overall sharpness due to hyperfocal distance principles.
Post-Production for Professional Results
Post-processing is where good mural photographs become exceptional. It allows for fine-tuning and correction that enhances the original capture.
Key post-processing steps:
- Perspective correction: Software tools can straighten converging lines and correct keystone distortion, making the mural appear as if shot perfectly head-on.
- Color and contrast adjustment: Fine-tune exposure, contrast, highlights, and shadows. Ensure colors are vibrant but accurate to the original artwork. Avoid over-saturation.
- Sharpening: Apply selective sharpening to enhance details without introducing artifacts.
- Noise reduction: If high ISO was unavoidable, apply subtle noise reduction.
- Cropping and straightening: Crop out distracting elements and ensure the horizon (or mural edges) is perfectly straight.
Elevating Your Mural Photography
Consistently producing high-quality mural photographs requires a methodical approach and attention to detail. By meticulously planning your shoots, optimizing your camera settings for the specific conditions, and leveraging post-processing tools, you can accurately and artistically document these often ephemeral works of art. The goal is to create images that not only showcase the mural itself but also reflect the care and precision of the photographer.
Frequently Asked Questions
What is the best time of day to photograph a mural?
The best times are typically early morning or late afternoon when the sun is lower, providing softer, more even light across the mural and minimizing harsh shadows and glare. Overcast days also offer naturally diffused light.
How do I avoid reflections when photographing a mural?
Use a polarizing filter on your lens to reduce glare and reflections from glossy surfaces. Adjust your shooting angle slightly to minimize direct reflections, and if possible, shoot on an overcast day or when the mural is in shadow.
What lens is best for photographing large murals?
A wide-angle lens (e.g., 16-35mm equivalent) is generally best for capturing large murals in their entirety, especially when you have limited space to step back. For detailed sections, a standard prime or zoom lens is effective.
Should I use a tripod for mural photography?
Yes, a tripod is highly recommended. It helps maintain sharpness in various lighting conditions, ensures consistent framing for stitched panoramas, and allows for precise adjustments to minimize distortion.