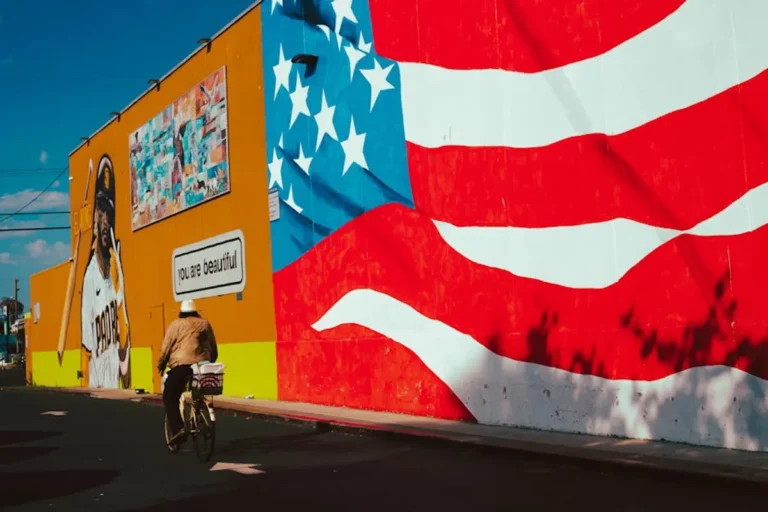
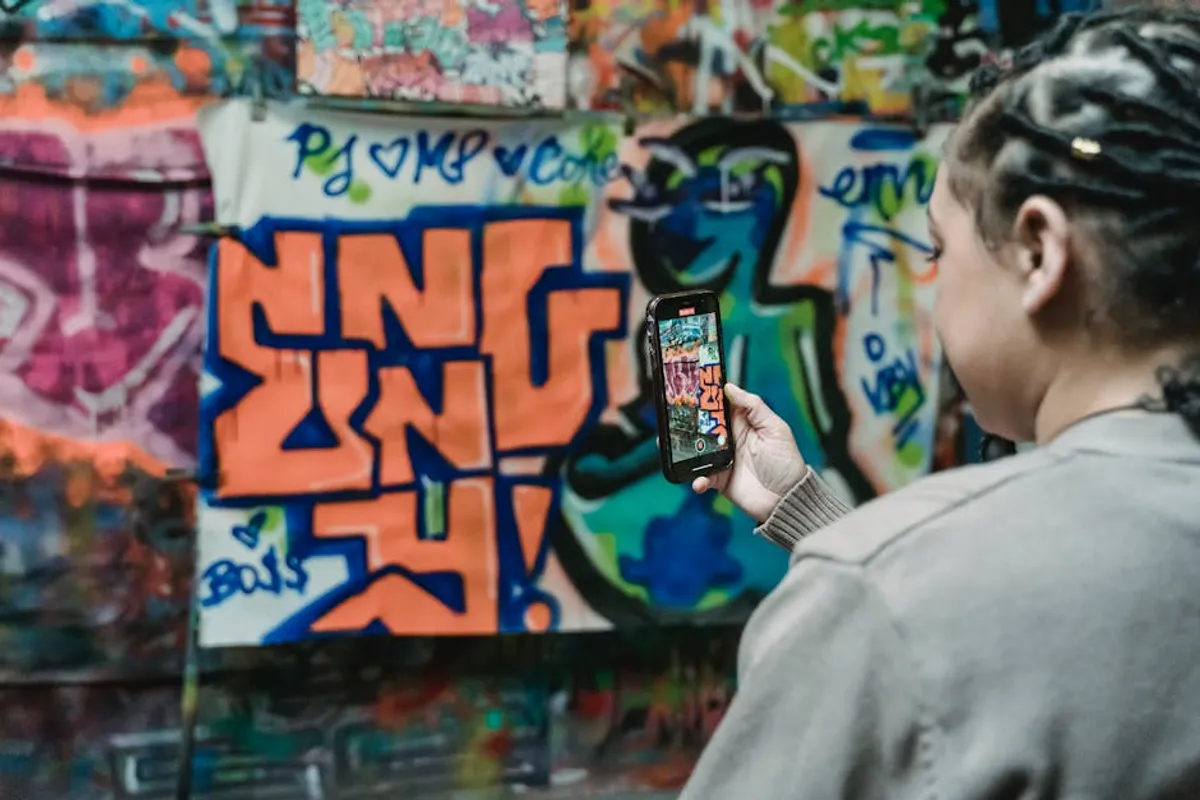
Mural photography presents unique challenges: immense scale, varied lighting, intricate detail, and often, constrained environments. Capturing these large-format artworks effectively requires a deliberate gear selection that prioritizes resolution, perspective control, and adaptability. The right equipment ensures faithful reproduction of the artist's work, whether for client portfolios, archival purposes, or large-scale print production. This guide details the essential camera bodies, lenses, and accessories that enable photographers to overcome common obstacles and produce high-quality mural images. This guide details the essential camera bodies, lenses, and accessories that enable photographers to overcome common obstacles and produce high-quality mural, especially when capturing large-format artworks.
Camera Bodies for Mural Photography
The choice of camera body significantly impacts image quality, especially when dealing with the expansive canvases of murals. Resolution, dynamic range, and low-light performance are primary considerations.
Full-Frame Mirrorless Systems
Best for: Professionals requiring high resolution, excellent low-light performance, and a wide selection of specialized lenses.
Full-frame mirrorless cameras offer large sensors that excel in capturing fine detail and provide superior dynamic range, crucial for retaining information in both bright highlights and deep shadows often present in outdoor murals. Their advanced autofocus systems and in-body image stabilization (IBIS) are beneficial for handheld shots or when working in less-than-ideal conditions. Look for models with high megapixel counts (e.g., 40MP+) for ample cropping flexibility and large print capability.
Medium Format Options
Best for: Archival-grade reproduction, extremely large prints, and situations where ultimate detail and tonal subtlety are paramount.
Medium format cameras, with their even larger sensors, deliver unparalleled resolution and color depth. This makes them ideal for capturing murals that require the highest fidelity for museum-quality prints or intricate detail studies. The trade-offs include higher cost, slower operation, and typically heavier systems, making them less suitable for fast-paced or highly mobile shoots.
APS-C and Micro Four Thirds
Best for: Enthusiasts, budget-conscious photographers, or those prioritizing portability for web-based portfolios or smaller prints.
While offering smaller sensors, modern APS-C and Micro Four Thirds cameras can still produce excellent results, especially when paired with quality lenses. Their lighter weight and smaller form factor are advantages for extensive travel or when discretion is required. Be mindful of their lower inherent resolution and dynamic range compared to full-frame or medium format, which might necessitate more careful exposure and post-processing, particularly for large-scale reproduction.
Essential Lenses for Capturing Murals
Lenses are arguably more critical than the camera body for mural photography, dictating perspective, sharpness, and the ability to capture the entire artwork or isolate specific elements.
Wide-Angle Lenses
Best for: Capturing the entire mural, especially in confined urban environments where stepping back is not an option.
A high-quality wide-angle lens (e.g., 14-24mm, 16-35mm on full-frame) is indispensable. These lenses allow you to encompass the full scale of a mural without excessive distortion, provided you maintain a parallel plane to the artwork. Look for lenses with minimal barrel distortion and excellent edge-to-edge sharpness to ensure consistent detail across the entire image. Rectilinear wide-angle lenses are preferred over fisheye lenses to avoid curved lines.
Standard Zoom Lenses
Best for: Versatility, capturing contextual shots, and isolating sections of the mural.
A standard zoom lens (e.g., 24-70mm f/2.8) offers flexibility for various compositions. It's useful for capturing the mural within its environment, detailing specific sections, or adjusting focal length on the fly without changing lenses. The constant aperture of f/2.8 provides good low-light performance and allows for shallow depth of field when desired, though for murals, a deeper depth of field is often preferred to ensure sharpness across the entire surface.
Telephoto Lenses
Best for: Isolating intricate details from a distance, working in areas where close access is restricted, or compressing perspective.
A moderate telephoto zoom (e.g., 70-200mm f/2.8) allows for precise framing of details without physically approaching the mural. This is particularly useful for artworks located high up or in inaccessible areas. Telephoto lenses also compress perspective, which can be creatively employed to emphasize certain elements or flatten the mural's appearance against its background.
Tilt-Shift Lenses
Best for: Correcting perspective distortion, especially with architectural murals or when shooting from an angle.
Tilt-shift lenses are specialized tools that allow for independent control over the lens's plane of focus (tilt) and its position relative to the sensor (shift). The shift function is invaluable for mural photography as it enables you to photograph a tall mural from ground level without converging vertical lines, maintaining a perfectly rectilinear representation. This avoids the need for extensive perspective correction in post-processing, preserving image quality.
Stabilization and Support
Sharpness is paramount in mural photography, and camera shake can easily degrade image quality, especially in lower light or when using longer exposures.
- Sturdy Tripod: Essential for achieving maximum sharpness, particularly for multi-shot panoramas (stitching) or long exposures. Look for models with a high weight capacity, robust leg locks, and a stable head (ball head or geared head for precise adjustments).
- Remote Shutter Release: Minimizes camera shake introduced by pressing the shutter button. Both wired and wireless options are available.
- L-Bracket: Allows for quick and secure switching between horizontal and vertical orientations on a tripod, maintaining the camera's center of gravity over the tripod's apex.
Pro Tip: Always scout the mural location beforehand. Note the direction of natural light throughout the day, potential obstructions, and accessibility. This pre-visualization informs your gear choices, especially regarding lens focal lengths and the need for artificial lighting or specialized filters.
Lighting and Accessories
While natural light is often preferred, certain accessories can enhance or correct lighting conditions.
Portable Lighting Solutions
Best for: Filling shadows, controlling contrast, or adding creative illumination to murals in challenging lighting.
While large murals are often lit by ambient light, portable LED panels or speedlights with diffusers can be used to fill in harsh shadows, balance uneven light, or highlight specific textures. For larger areas, multiple lights or larger light modifiers may be necessary. Consider battery-powered options for flexibility.
Polarizing Filters
Best for: Reducing glare and enhancing color saturation, particularly on sunny days or with reflective mural surfaces.
A circular polarizer (CPL) filter can significantly reduce reflections from glossy paint, glass, or wet surfaces, allowing the true colors and details of the mural to emerge. It also enhances color saturation and contrast, making skies bluer and foliage greener, which can be beneficial for contextual shots.
Backpacks and Cases
Best for: Protecting valuable equipment during transport and on location.
Invest in a durable, weather-resistant camera bag or backpack that comfortably fits all your gear. Look for padded compartments, customizable dividers, and comfortable straps, especially if you'll be walking extensively between mural sites.
Post-Processing Software Considerations
While not gear in the traditional sense, powerful post-processing software is an extension of your kit. Programs like Adobe Lightroom Classic or Capture One are essential for processing RAW files, performing perspective corrections, stitching panoramas, color grading, and noise reduction. These tools allow you to refine the captured images to their full potential, correcting minor optical imperfections and ensuring accurate representation of the artwork.
Building Your Mural Photography Kit: Practical Steps
Assembling an effective mural photography kit involves balancing capability with practical considerations. Start by assessing the primary types of murals you intend to photograph—indoor vs. outdoor, scale, accessibility. Prioritize gear that addresses the most common challenges you anticipate. Durability and weather sealing are crucial for outdoor work, protecting your investment from environmental elements. Consider renting specialized equipment like tilt-shift lenses for specific projects before committing to a purchase, allowing you to evaluate their utility in your workflow.
Frequently Asked Questions About Mural Photography Gear
Do I need a full-frame camera for mural photography?
While not strictly necessary, a full-frame camera offers significant advantages in resolution, dynamic range, and low-light performance, which are highly beneficial for capturing large, detailed murals, especially for professional or archival purposes. APS-C or Micro Four Thirds cameras can suffice for smaller prints or web use.
What's the most important lens for mural photography?
A high-quality wide-angle rectilinear lens (e.g., 16-35mm on full-frame) is arguably the most critical. It allows you to capture the entire mural, particularly in confined spaces, while minimizing distortion. A standard zoom (24-70mm) is also highly versatile for general use.
How do I deal with uneven lighting on a mural?
Uneven lighting can be mitigated by shooting during overcast conditions for diffused light, using a polarizing filter to reduce glare, or employing portable LED panels or speedlights with diffusers to fill in shadows and balance the illumination. Bracketing exposures and combining them in post-processing can also help manage high-contrast scenes.
Should I shoot in RAW or JPEG?
Always shoot in RAW format for mural photography. RAW files retain significantly more image data than JPEGs, providing greater flexibility for extensive post-processing adjustments such as perspective correction, color grading, exposure recovery, and noise reduction without degrading image quality. This is crucial for achieving accurate and high-fidelity reproductions.