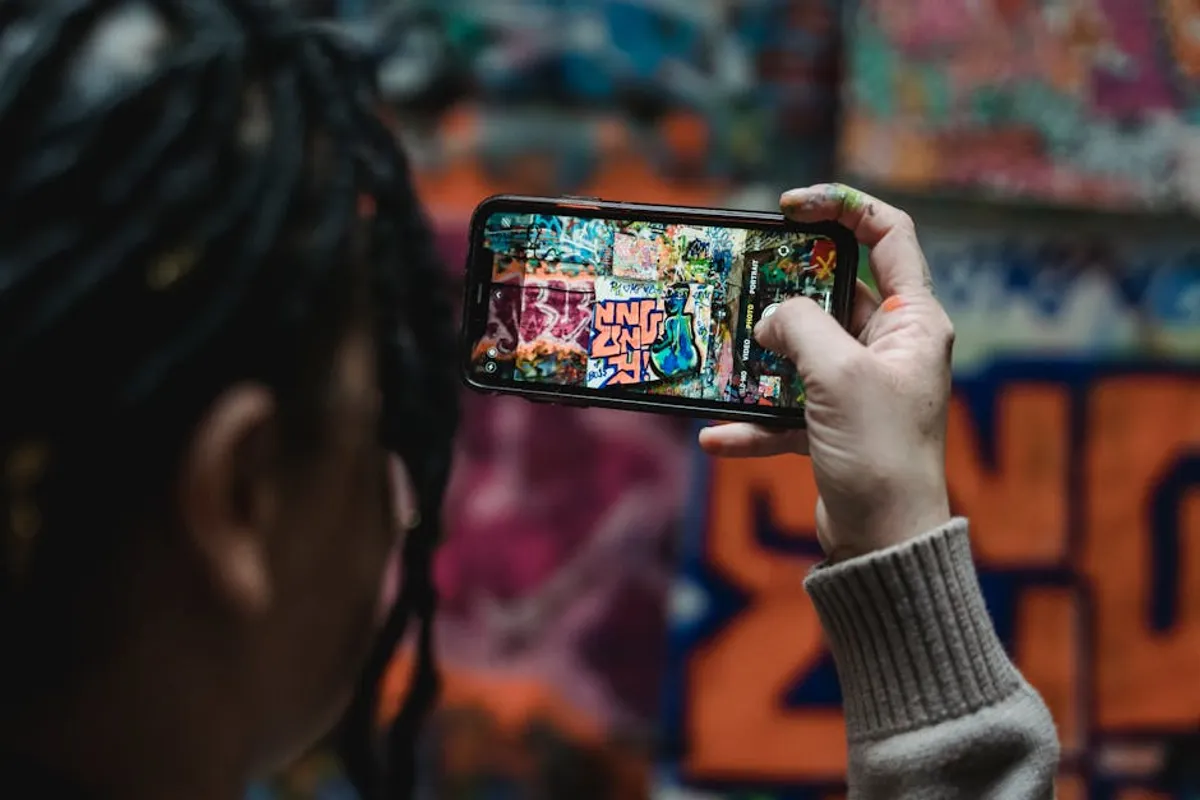
Street art photography presents a unique blend of documentary and artistic challenge. Unlike studio or landscape work, the subject is often ephemeral, found in public spaces, and highly dependent on environmental factors like light, weather, and urban context. For beginners, understanding how to approach these variables can transform casual snapshots into compelling visual narratives. This guide focuses on practical techniques and considerations to help new photographers capture the vibrancy and detail of street art effectively, ensuring their images resonate and accurately represent the artwork.
Essential Gear for Street Art Photography
You do not need a professional setup to begin photographing street art, but understanding how different tools contribute to the final image is crucial. Prioritize versatility and portability, as you will often be moving through urban environments.
- Camera Body: A modern smartphone can capture excellent images in good light, offering convenience and immediate sharing. For greater control over exposure, depth of field, and low-light performance, a mirrorless or DSLR camera with manual settings is beneficial. Look for models with good dynamic range to manage contrasting light conditions.
- Lenses: A versatile zoom lens (e.g., 24-70mm equivalent on full-frame) allows for both wide contextual shots and closer detail work without frequent lens changes. A fast prime lens (e.g., 35mm or 50mm with f/1.8 or f/2.8 aperture) is excellent for low-light situations and creating subject isolation with shallow depth of field, often useful for highlighting specific tags or intricate details.
- Accessories:
- Extra Batteries: Street photography can be unpredictable; always carry spares.
- Cleaning Kit: Lens wipes and a blower are essential for maintaining image clarity in dusty or urban settings.
- Comfortable Bag: A discreet, comfortable bag protects your gear and allows for easy access while navigating city streets.
- Polarizing Filter: Can reduce glare from reflective surfaces like windows or wet paint, enhancing color saturation.
Mastering Composition and Framing
Effective composition elevates a simple photograph of street art into a piece that tells a story. Consider the artwork not just in isolation, but in conversation with its surroundings.
Contextualizing the Art
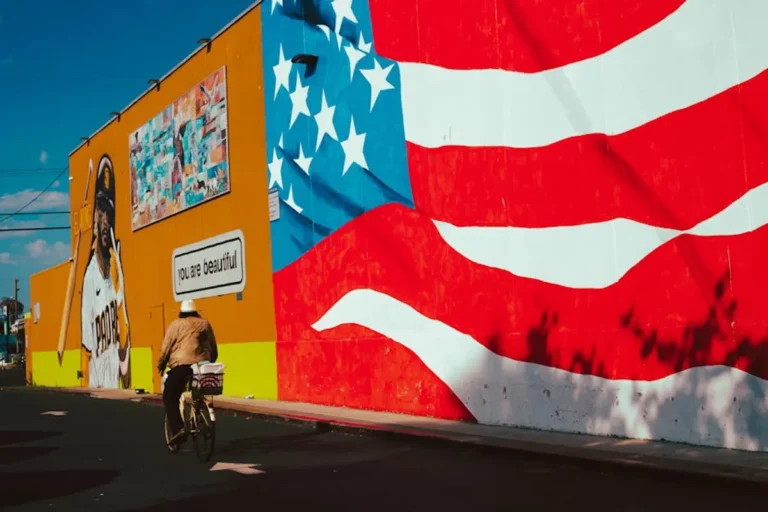
Street art exists within an environment. Capturing elements like architectural details, passerby, or urban decay alongside the art provides a sense of place and scale. Use leading lines from buildings or pathways to draw the viewer's eye towards the artwork. Employ the rule of thirds to position the art off-center, creating a more dynamic and engaging image.
Detail and Texture Focus
While wide shots are important, isolating specific details can reveal the artist's technique, brushstrokes, or intricate patterns. Get close to capture textures, layers of paint, or the unique materials used. This approach often requires careful framing to exclude distracting elements and emphasize the chosen detail.
Navigating Light and Shadow
Light is a fundamental element of photography, and its quality can dramatically alter how street art is perceived. Since street art is often outdoors, you are at the mercy of natural light, which changes constantly.
Best for: Even, diffused light
Overcast days provide soft, even lighting that minimizes harsh shadows and highlights, rendering colors accurately and making details easier to capture. The "golden hour" — the hour after sunrise or before sunset — offers warm, soft light that can add a dramatic glow to murals and sculptures. However, direct midday sun can create strong contrasts and blown-out highlights; use it to your advantage by seeking interesting shadow patterns or waiting for more favorable conditions.
Pro Tip: Always check the background and edges of your frame before pressing the shutter. Distracting elements like trash cans, power lines, or bright signs can detract from the artwork. Reposition yourself or use a tighter crop to eliminate these distractions and maintain focus on your subject.
Key Camera Settings for Street Art
Understanding basic camera settings allows for creative control and adaptation to varying light and subject matter.
Aperture, Shutter Speed, and ISO
- Aperture (f-stop): Controls depth of field. Use a wider aperture (smaller f-number like f/2.8 or f/4) to blur backgrounds and isolate the art, especially for detailed shots. For capturing large murals or art integrated into architecture, a narrower aperture (larger f-number like f/8 or f/11) ensures more of the scene is in sharp focus.
- Shutter Speed: Determines how long the sensor is exposed to light. For static street art, a faster shutter speed (e.g., 1/250s or faster) minimizes camera shake and ensures sharpness, especially if hand-holding. If you want to incorporate motion blur from passersby, a slower shutter speed (e.g., 1/30s or slower) can be used, often requiring a tripod for the artwork itself to remain sharp.
- ISO: Adjusts the camera's sensitivity to light. Keep ISO as low as possible (e.g., ISO 100-400) to minimize digital noise and maintain image quality, particularly in well-lit conditions. In low light, increase ISO as needed, but be mindful of the trade-off with noise.
White Balance and Exposure Compensation
Set your white balance according to the ambient light (e.g., "Daylight" for sunny conditions, "Cloudy" for overcast). If the automatic setting struggles, manual adjustment can prevent color casts. Use exposure compensation to intentionally lighten or darken your image, especially when the scene has extreme bright or dark areas that might trick your camera's meter.
Ethical and Safety Considerations
Photographing street art involves interacting with public spaces and respecting both the art and its creators.
Respect the Art and Artists: Street art is often unauthorized. Avoid damaging or altering the art. If an artist is present, ask for permission before photographing them or their work, and offer to share the images. Do not claim ownership of the artwork itself.
Personal Safety: Be aware of your surroundings, especially in unfamiliar or isolated areas. Travel with a companion if possible, and keep your gear secure and discreet. Avoid displaying expensive equipment overtly. If a situation feels unsafe, prioritize your well-being over a photograph.
Property Rights: While you can photograph art in public spaces, be mindful of private property. Avoid trespassing or obstructing public pathways. If the art is on private property and you intend to use the images commercially, consider seeking permission from the property owner.
Basic Post-Processing for Impact
Post-processing is where you can refine your images, correct imperfections, and enhance the visual impact of the street art. Beginners can start with basic adjustments.
- Cropping and Straightening: Correcting horizons and composing for stronger visual balance.
- Exposure and Contrast: Adjusting overall brightness and the difference between light and dark areas to make the art pop.
- Color Correction: Fine-tuning white balance and adjusting saturation or vibrance to make colors accurate or more vivid.
- Sharpening: Applying a subtle amount of sharpening can enhance details, particularly after resizing for web use.
Developing Your Street Art Photography Eye
Street art photography is a continuous learning process. The most effective way to improve is through consistent practice and critical self-evaluation. Experiment with different angles, times of day, and camera settings. Review your images to understand what worked and what could be improved. Engage with online communities to share your work and receive constructive feedback. Over time, you will develop a unique perspective and a stronger ability to capture the dynamic essence of urban art.
Frequently Asked Questions
What is the best time of day to photograph street art?
The "golden hour" (shortly after sunrise or before sunset) provides soft, warm light that enhances colors and textures. Overcast days also offer excellent diffused light, minimizing harsh shadows.
Do I need an expensive camera for street art photography?
No, a modern smartphone can capture high-quality images, especially in good lighting. However, a mirrorless or DSLR camera offers more manual control over settings like aperture, shutter speed, and ISO, which can be beneficial for challenging light conditions or specific artistic effects.
How can I find street art to photograph?
Explore urban areas on foot, use online maps or specialized street art apps, and follow local art blogs or social media accounts. Often, street art is concentrated in specific neighborhoods known for their artistic scenes.
Is it okay to photograph people interacting with street art?
Generally, photographing people in public spaces is permissible. However, if you intend to use the images commercially, or if a person is clearly identifiable and the focus of the image, it is best practice to ask for their permission to avoid privacy concerns.