Capturing street art effectively means more than just pointing a camera; it requires a deliberate approach to preserve the intricate details, vibrant colors, and unique textures that define the artwork. The challenge lies in translating a large-scale, often complex, and environmentally integrated piece into a compelling two-dimensional image that conveys its full impact. Without careful consideration, photographs can flatten the art, lose critical nuances, or misrepresent the artist's original intent. This guide details the technical and practical steps necessary to photograph street art with precision, ensuring every brushstroke, spray, and contextual element contributes to a high-fidelity visual record.
Understanding the Environment and Artwork
Street art exists within dynamic, uncontrolled environments, which presents distinct photographic hurdles. Unlike gallery pieces, street art is subject to varying light conditions, urban clutter, and often significant scale. Recognizing these factors before you even raise your camera is fundamental to capturing detail.
Lighting Conditions and Time of Day
Natural light is the primary determinant of how detail is rendered. Direct midday sun often creates harsh shadows and blown-out highlights, obscuring texture and color fidelity. Overcast days offer diffused, even light, which is ideal for capturing consistent color and subtle textures without strong contrast. Early morning or late afternoon (the "golden hour") provides softer, warmer light that can enhance mood and depth, though it introduces directional shadows that require careful management. Assess how light interacts with the art's surface; some murals have reflective elements, while others are matte, absorbing light differently.
Scale and Perspective
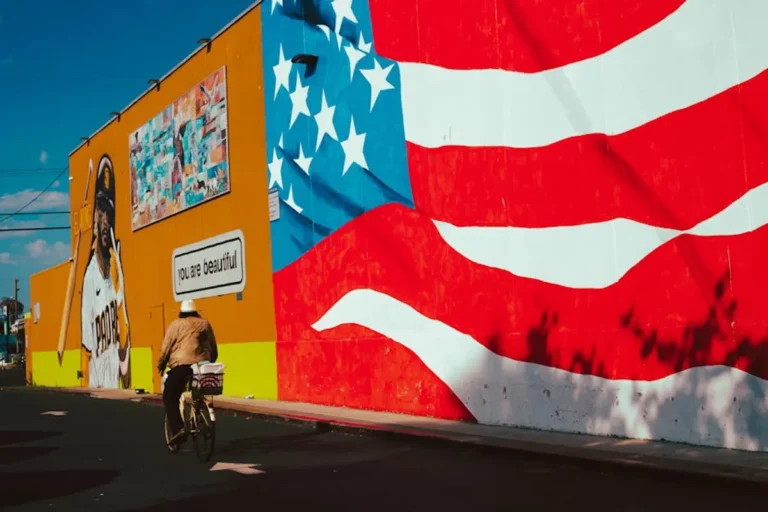
Street art ranges from small, intricate stencils to multi-story murals. A single wide shot might convey scale but lose fine detail, while extreme close-ups isolate detail but remove context. The goal is often to balance these. Consider how the art interacts with its surroundings—a wall, a doorway, a specific urban feature—as this context often informs the artwork itself and its perceived detail. Experiment with different distances and angles to find the perspective that best communicates both the art's individual elements and its place in the environment.
Essential Equipment for Detail Capture
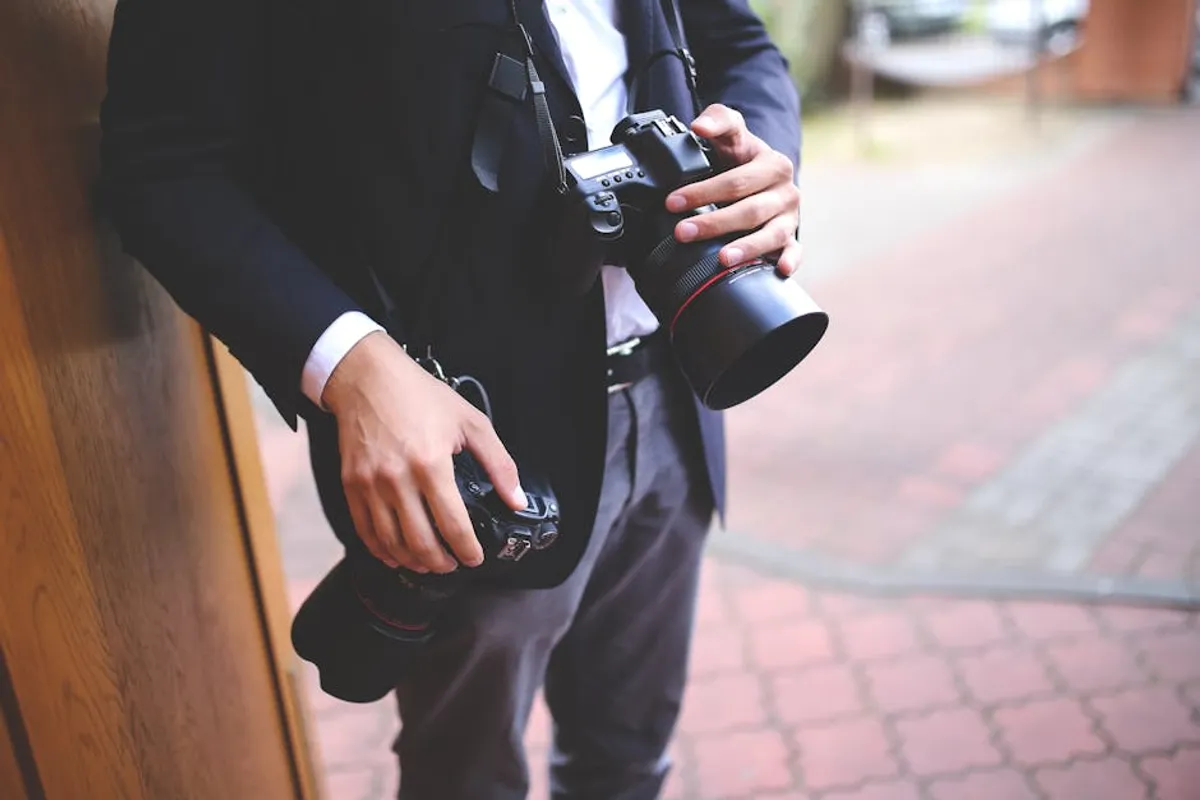
While a modern smartphone can produce good images, dedicated camera equipment offers greater control over exposure, focus, and dynamic range, which are critical for detail retention.
- Camera Body: A DSLR or mirrorless camera with a large sensor (APS-C or full-frame) provides superior image quality, better low-light performance, and more dynamic range compared to smaller-sensor cameras. This latitude is crucial for recovering detail in shadows or highlights during post-processing.
- Lenses:
- Wide-angle lens (16-35mm equivalent): Essential for capturing large murals or pieces in confined spaces, allowing you to fit the entire artwork into the frame.
- Standard prime lens (35mm or 50mm equivalent): Offers excellent sharpness and a natural perspective, ideal for capturing mid-range sections or smaller pieces with high fidelity.
- Telephoto lens (70-200mm equivalent): Useful for isolating specific details from a distance, or for capturing art on higher walls without needing to be directly underneath.
- Tripod: A stable tripod eliminates camera shake, allowing for slower shutter speeds and lower ISO settings, both of which contribute to sharper images and reduced noise, especially in less-than-ideal light.
- Polarizing Filter: Reduces glare from reflective surfaces (e.g., wet paint, glass, metal) and enhances color saturation, revealing more underlying detail.
- Remote Shutter Release: Further minimizes camera shake when using a tripod, ensuring maximum sharpness.
Pro Tip: Always shoot in RAW format. RAW files contain significantly more image data than JPEGs, providing greater flexibility in post-processing to adjust exposure, white balance, and recover lost detail in highlights and shadows without introducing artifacts or degrading image quality. This is invaluable for extracting maximum detail from challenging street art scenes.
On-Site Techniques for Precision
Executing the shot correctly at the location is paramount for detail preservation.
Focus and Sharpness
Achieve critical focus by using single-point autofocus and placing the focus point directly on a key area of detail within the artwork. For large, flat murals, ensure the camera sensor is parallel to the wall to maintain sharpness across the entire piece and avoid distortion. When photographing textured surfaces, stopping down your aperture (e.g., f/8 or f/11) increases depth of field, ensuring more of the artwork is in sharp focus.
Exposure Control
Bracket your exposures. This involves taking multiple shots of the same scene at different exposure levels (e.g., one normal, one underexposed, one overexposed). This technique, known as exposure bracketing, provides a safety net for challenging lighting and allows for the creation of High Dynamic Range (HDR) images in post-processing, which can reveal detail in both the brightest and darkest areas simultaneously. Pay attention to the histogram on your camera to ensure you're not clipping highlights or crushing shadows.
Composition for Detail
Beyond the full shot, compose tighter frames that highlight specific elements, textures, or artistic techniques. Look for repeating patterns, unique brushwork, or signature tags. These detail shots complement the wider environmental views, offering a deeper insight into the artist's craft.
Post-Processing for Detail Retention
Even with meticulous on-site work, post-processing is where you can further enhance and refine the captured detail.
Sharpening and Noise Reduction
Apply sharpening judiciously. Start with a global sharpening pass, then use local adjustments to selectively sharpen areas that require more definition. Balance sharpening with noise reduction; excessive sharpening can amplify noise, especially in darker areas. Use noise reduction tools sparingly, as over-application can smooth out fine details. Focus on luminance noise reduction first, then chrominance noise if color artifacts are present.
Contrast and Clarity
Adjusting contrast can make details pop. Increase local contrast using the "Clarity" slider in editing software, but avoid overdoing it, which can create an artificial, HDR-like effect. Fine-tune highlights and shadows to reveal hidden textures and nuances without losing information at either end of the tonal spectrum.
Color Correction
Accurate color rendition is crucial for street art, as color is often integral to the artist's message. Correct white balance to neutralize color casts caused by ambient light. Use saturation and vibrance adjustments to make colors vivid without making them unnatural or oversaturated, which can detract from the art's original appearance.
Refining Your Street Art Photography
Mastering street art photography without losing detail is an iterative process. Each piece presents its own set of challenges, from scale and location to lighting and surrounding urban elements. By systematically addressing equipment choices, pre-visualization, on-site execution, and precise post-processing, you can consistently produce images that faithfully represent the artwork's intricacy and impact. Focus on understanding the interplay of light, texture, and environment, and leverage your camera's capabilities to capture the full spectrum of visual information. The goal is not just to document, but to interpret and preserve the essence of the art for an audience. This iterative process is especially key when photographing large murals where scale and detail must be balanced.
Frequently Asked Questions
Q: What is the ideal time of day to photograph street art?
A: Overcast days provide soft, even light that minimizes harsh shadows and preserves color detail. Otherwise, early morning or late afternoon (golden hour) offers softer, warmer light than direct midday sun, which can create strong contrast and obscure details.
Q: Should I use a flash when photographing street art?
A: Generally, avoid using direct flash, as it can create harsh reflections, flatten the image, and alter the art's natural appearance. If supplemental light is necessary, consider off-camera flash or a diffused light source to mimic natural light and fill in shadows subtly.
Q: How can I deal with reflections on glossy street art surfaces?
A: Use a polarizing filter on your lens to reduce glare and reflections. Adjust the filter's rotation until reflections are minimized. Also, try changing your shooting angle slightly to find a position where reflections are less prominent.
Q: Is it better to capture the entire artwork or focus on specific details?
A: Both approaches are valuable. Start with wider shots to capture the full context and scale of the artwork. Then, move in for tighter compositions to highlight specific textures, brushwork, or intricate elements. A combination provides a comprehensive visual narrative.