Creating a photo essay about street art moves beyond simply documenting individual pieces; it involves constructing a visual narrative that captures the essence, context, and impact of urban art. This approach transforms a collection of images into a compelling story, offering a richer experience for the viewer than standalone photographs. For content producers, marketers, and cultural organizations, a well-executed street art photo essay provides a potent tool for audience engagement, cultural commentary, and content differentiation. It establishes authority and deepens connection by presenting a curated perspective, often leading to increased organic reach and sustained interest.
Developing Your Narrative Focus
Before capturing a single frame, define the core story your photo essay will tell. A clear narrative focus dictates your shooting strategy, image selection, and accompanying text, ensuring cohesion and impact. Without this foundational step, a photo essay risks becoming a disparate collection of images.
- Artist Spotlight: Focus on the works of a single artist, showcasing their evolution, signature style, or thematic consistency across different locations. This approach often requires prior research and, ideally, direct communication with the artist for deeper insights.
- Geographical Exploration: Document street art within a specific neighborhood, district, or city. This can highlight how local culture, architecture, or social issues influence the art. Consider mapping out key locations beforehand.
- Thematic Investigation: Explore a particular theme, such as political commentary, environmental activism, abstract expression, or historical narratives, as expressed through various street art pieces. This requires identifying common threads across diverse works.
- Temporal Progression: Capture the lifecycle of street art, from creation (if permitted and possible) to its eventual decay or removal. This offers a unique perspective on the transient nature of the medium.
Best for: Establishing a unique viewpoint and providing a framework for content creation that resonates with specific audience interests.
On-Location Capture: Strategic Photography
Effective street art photography requires more than just pointing a camera; it demands an understanding of composition, lighting, and context to convey the intended narrative. Your equipment choices and shooting techniques directly influence the visual quality and storytelling potential of your essay.
Equipment Considerations for Urban Environments
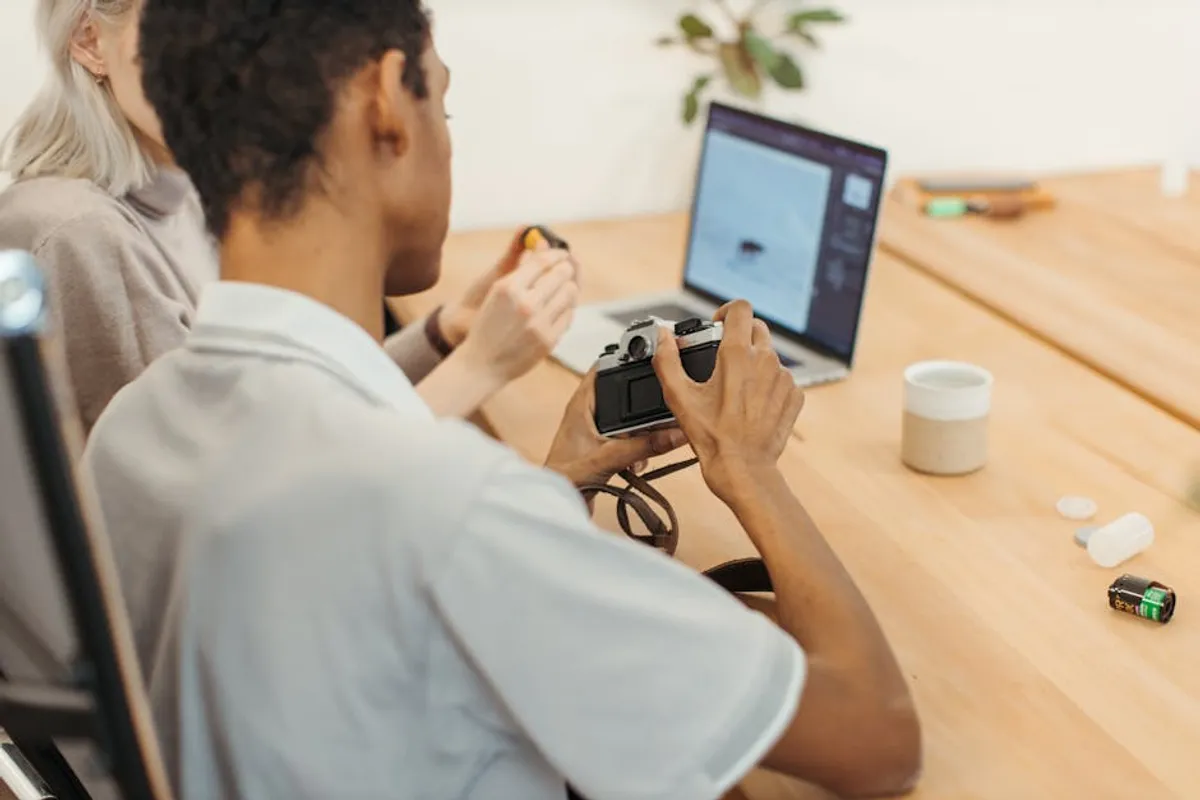
While modern smartphone cameras offer convenience, dedicated camera gear provides greater control over image quality and creative expression. A mirrorless or DSLR camera with interchangeable lenses is ideal for flexibility.
- Camera Body: A camera with good low-light performance (high ISO capabilities) is beneficial for varied urban lighting conditions.
- Lenses:
- Wide-Angle (16-35mm): Essential for capturing large murals, providing environmental context, and conveying scale.
- Standard Zoom (24-70mm or 24-105mm): Versatile for a range of shots, from moderate wide-angle to portrait-style details.
- Telephoto (70-200mm): Useful for isolating details on higher walls or capturing art across busy streets without distortion.
- Macro (50-100mm): For extreme close-ups of texture, brushstrokes, or intricate details, adding depth to the visual story.
- Tripod: Stabilizes shots in low light, allows for precise composition, and is critical for capturing long exposures or bracketing for HDR.
- Cleaning Kit: Dust, rain, or urban grime can impact lenses and sensors.
Composition and Lighting Techniques
The way you frame and light your subjects directly impacts how the story is perceived.
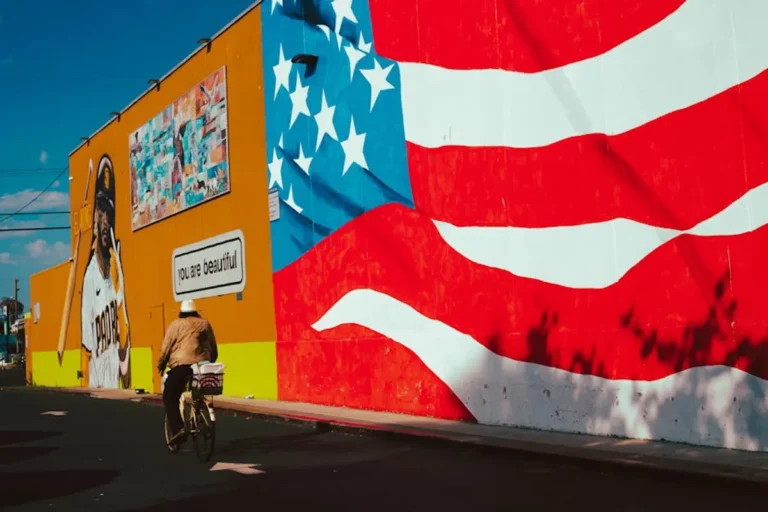
- Contextual Shots: Include elements of the surrounding environment (buildings, people, street furniture) to show how the art interacts with its urban setting. This grounds the art in its physical and social space.
- Detail Shots: Capture close-ups of specific elements, textures, signatures, or unique artistic techniques. These shots add intimacy and reveal nuances often missed in wider views.
- Scale and Perspective: Incorporate human figures or common objects to provide a sense of the art's size. Experiment with different angles – low to emphasize height, high for an overview.
- Natural Light Management: Early morning or late afternoon (golden hour) offers softer, warmer light, reducing harsh shadows and glare. Overcast days provide diffused, even lighting, ideal for vibrant colors. Avoid direct midday sun, which can create strong, unflattering contrasts.
Pro Tip: Always be aware of your surroundings and prioritize safety. Street art locations can sometimes be in high-traffic or less-trafficked areas. Respect private property and local regulations; photographing art on private walls without permission can lead to legal issues or conflict. If an artist is present, always ask for permission before photographing their work or them.
Post-Production: Curating and Refining Your Visual Story
The editing phase is where your raw images coalesce into a coherent narrative. This involves rigorous selection, technical refinement, and thoughtful sequencing to maximize impact.
Image Selection and Basic Editing
Review all captured images critically. Select only the strongest photographs that directly contribute to your narrative. Eliminate redundant shots or those with technical flaws that cannot be corrected.
- Culling: Prioritize images that are sharp, well-exposed, and align with your essay's theme. Look for unique angles and compelling compositions.
- Color Correction: Adjust white balance to accurately represent the art's original colors. Correct exposure and contrast to ensure details are visible in both highlights and shadows.
- Cropping and Straightening: Refine composition by cropping out distracting elements. Ensure lines are straight, especially for architectural elements.
- Sharpening: Apply subtle sharpening to enhance detail, but avoid over-sharpening, which can introduce artifacts.
Sequencing for Narrative Flow
The order in which your photos appear is crucial for storytelling. Arrange them to build suspense, reveal information progressively, or guide the viewer through a visual journey.
- Opening Shot: A strong, establishing image that sets the scene or introduces the main theme.
- Developing the Narrative: Follow with images that expand on the theme, introduce characters (if applicable), or explore different facets of the art. Vary shot types (wide, medium, close-up) to maintain visual interest.
- Climax/Turning Point: A particularly impactful image or series that serves as the emotional or informational peak.
- Resolution/Concluding Shot: An image that provides a sense of closure or leaves the viewer with a lasting impression, often tying back to the opening theme.
Crafting the Narrative: Textual Enhancement
Text provides the context and voice that photographs alone cannot always convey. Well-written captions and introductory/concluding remarks elevate a photo essay from a mere collection of images to a rich, informative experience.
- Introduction: Briefly set the stage, introduce your theme, and explain what the viewer will experience. This primes the audience for the narrative.
- Captions: Each image should have a concise, informative caption. Include details such as:
- Artist's name (if known and appropriate).
- Location (street, city, specific landmark).
- Date captured (or approximate date of creation).
- Brief commentary on the art's meaning, technique, or social context.
- Concluding Statement: Summarize the essay's key takeaways, offer a final reflection, or provide a call to action (e.g., encouraging exploration of local street art, visiting a specific gallery).
Best for: Providing depth, context, and a clear voice to your visual content, enhancing its educational and engagement value.
Publishing and Optimizing Your Street Art Essay
Once your photo essay is complete, strategic publishing and optimization ensure it reaches its intended audience and performs effectively as a piece of content.
- Platform Selection: Choose a platform that prioritizes visual content and allows for rich media integration. Options include dedicated blog posts, visual storytelling platforms, or curated online galleries.
- Image Optimization: Before uploading, optimize images for web performance. Compress files to reduce load times without significant quality loss. Use descriptive filenames (e.g., "street-art-mural-brooklyn-artist-name.jpg") and comprehensive alt text for accessibility and SEO.
- Search Engine Optimization (SEO):
- Keyword Research: Identify relevant keywords related to the artists, locations, or themes featured in your essay.
- Title and Meta Description: Craft an engaging title and meta description that incorporates keywords and accurately reflects the content.
- Internal Linking: Link to other relevant content on your site, such as artist profiles, neighborhood guides, or related essays.
- Schema Markup: Consider using image or article schema markup to provide search engines with structured data about your content.
- Social Media Promotion: Share snippets, individual standout images, or a "behind-the-scenes" look on platforms like Instagram, Pinterest, or Facebook to drive traffic back to the full essay.
Maximizing the Impact of Your Visual Narrative
A street art photo essay is a potent content format for engaging audiences and establishing a unique voice. By meticulously planning the narrative, executing thoughtful photography, refining images through careful editing, and enriching the visuals with compelling text, you create a piece that resonates. Remember that each step, from initial concept to final publication, contributes to the overall effectiveness and commercial value of the essay. Consistent application of these principles ensures your visual stories are not only seen but also understood and remembered.
Frequently Asked Questions
What camera equipment is essential for a street art photo essay?
A camera with interchangeable lenses (mirrorless or DSLR) is recommended for flexibility. Key lenses include a wide-angle (16-35mm) for murals, a versatile standard zoom (24-70mm), and potentially a telephoto (70-200mm) for details. A sturdy tripod is also valuable for low light and precise composition.
How do I find street art locations for my essay?
Research local art blogs, urban exploration forums, and community social media groups. Apps like Google Maps Street View can offer preliminary scouting. Walking or cycling through urban areas with a keen eye often reveals hidden gems. Always prioritize safety and be aware of your surroundings.
Is it necessary to get permission to photograph street art?
Legally, street art in public spaces is generally considered fair game for photography for personal use. However, if the art is on private property or if you intend to use the images commercially, seeking permission from the property owner or artist is advisable to avoid potential issues. Always respect artists' rights and privacy.
How many photos should a typical street art photo essay include?
There's no strict rule, but an effective photo essay usually contains between 10 to 30 images. The goal is to tell a complete story without overwhelming the viewer. Focus on quality over quantity, ensuring each image contributes meaningfully to the narrative.